


How to Install a Light Fitting: A Step-by-Step Guide
▶ Click to watch on YouTube
So, you've decided to tackle installing a new light fitting yourself? Good on you! It's a project that can really change the look of a room, and honestly, it's not as scary as it sounds. I've been there, staring at wires and wondering if I'm about to cause a blackout. But with the right tools and a bit of patience, you can absolutely get that old fitting down and a shiny new one up. We'll walk through what you actually need and how to do it safely, step-by-step.
Key Takeaways
- Always turn off the power at the main breaker before you start and double-check with a voltage tester – safety first!
- Gather all your tools, like screwdrivers, wire strippers, and a voltage tester, before you even think about touching the old light fitting.
- Carefully disconnect the old light fitting, noting how the wires are connected (usually black, white, and ground).
- Prepare your new light fitting, checking all parts and attaching the mounting bracket securely to the ceiling box.
- Connect the wires of the new light fitting to the corresponding wires from the ceiling, then secure the fitting and test it.
Essential Tools For Light Fitting Installation

Gathering Your Essential Tools
Right then, before you even think about wrestling with wires, let's get your toolkit sorted. Having everything ready means you won't be stuck on a ladder, halfway through, realising you've forgotten something vital. It's a bit like trying to bake a cake without flour – just not going to happen.
Here’s a list of what you'll likely need:
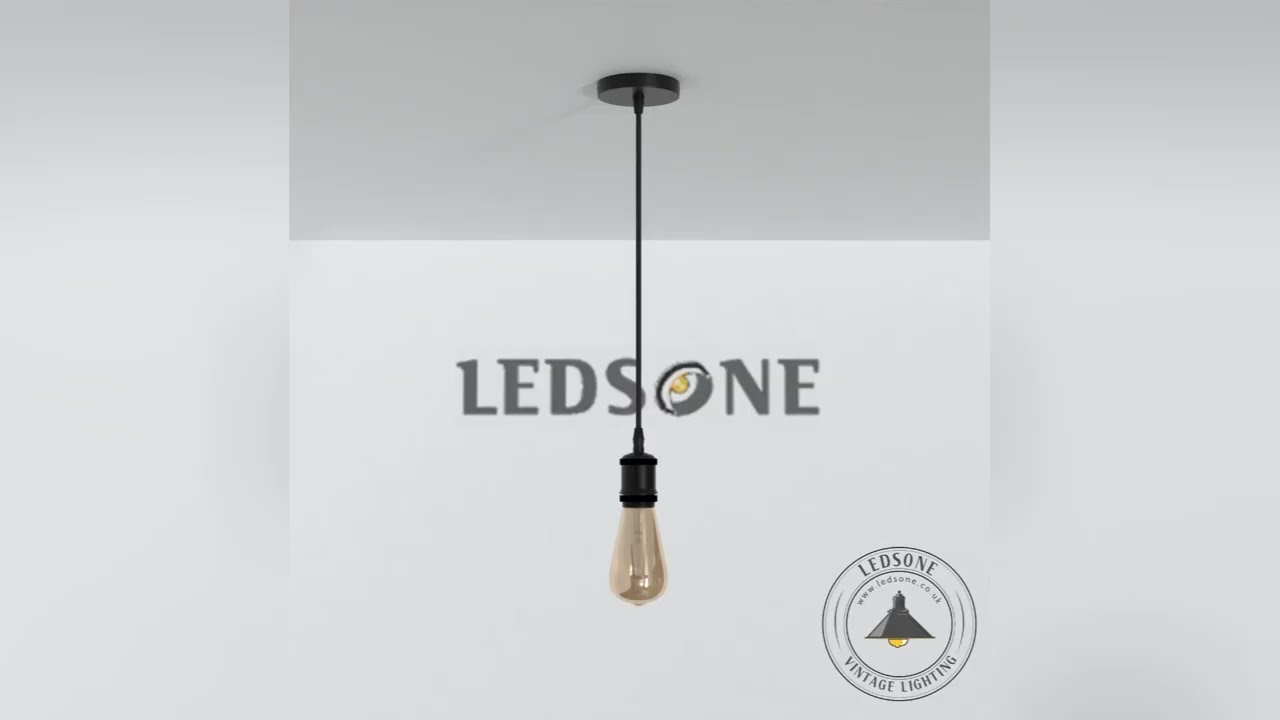
- New light fitting: Obvious, I know, but double-check it's all there before you start. Check out our latest Pendant Lights for inspiration.
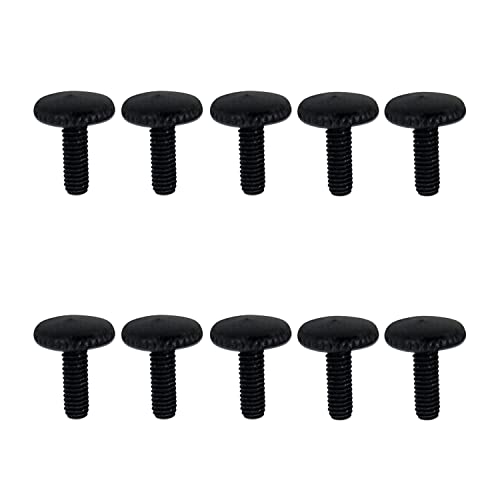
- Screwdrivers: You'll want both a Phillips head and a flathead. Manufacturers can't seem to agree on just one type, can they?
- Wire strippers/cutters: These are for getting the insulation off the wires without nicking the copper inside. You can often find tools that do both jobs.
- Voltage tester: This is non-negotiable, folks. Seriously, don't even think about starting without one. It's your best mate for making sure the power is well and truly off.
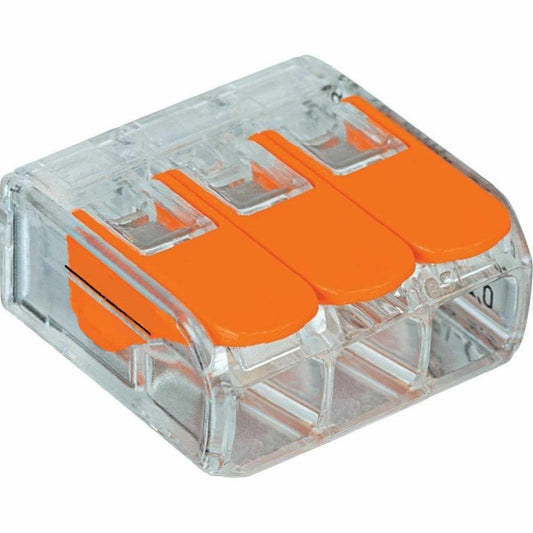
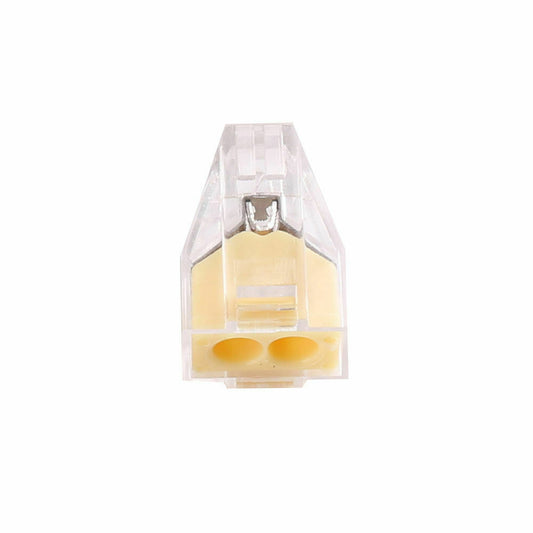
- Wire connectors (wire nuts): These little plastic caps twist onto the ends of wires to join them. Most new fittings come with some, but it's wise to have a few spares in different sizes.
- Electrical tape: Always handy for an extra bit of insulation or to secure things temporarily.
- Ladder or step stool: Make sure it's sturdy and safe. Those kitchen counters are definitely not a substitute!
- Needle-nose pliers: Useful for bending wires into shape and getting into tight spots.

Industrial Pendant Light
Perfect for DIY kitchen upgrades and modern industrial styling.

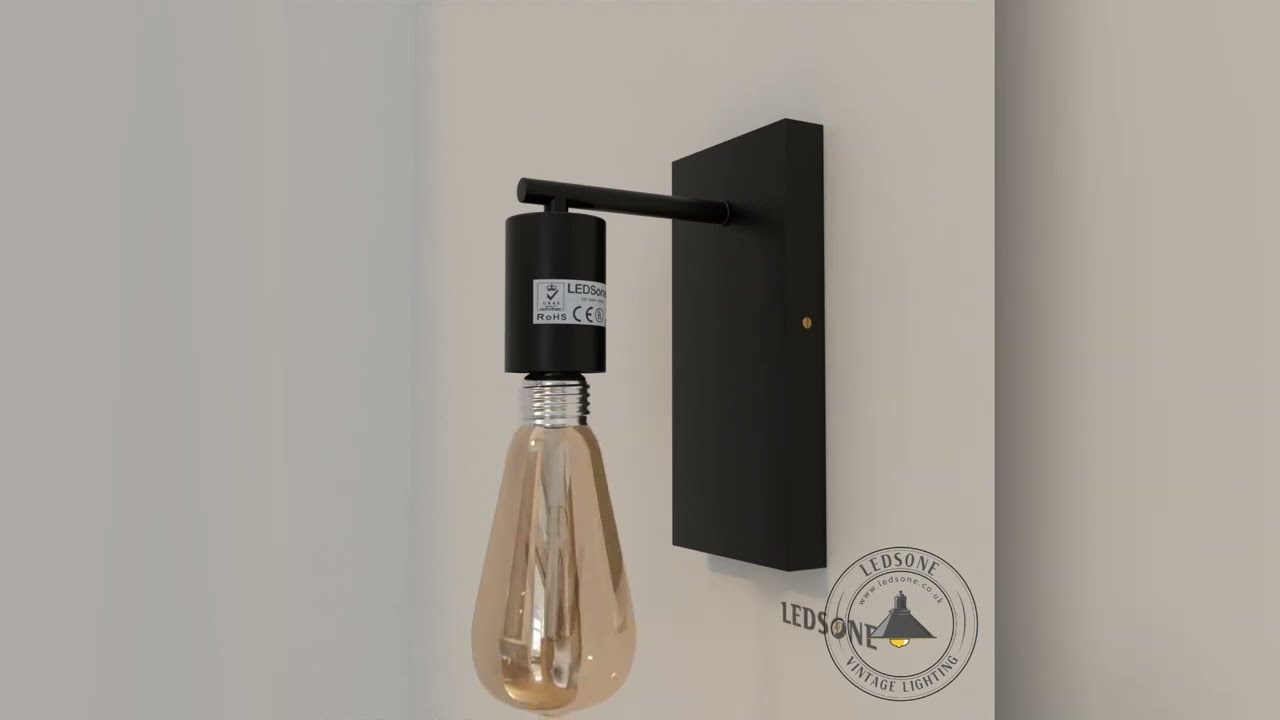
Modern Wall Sconce
Sleek, minimalist designs to brighten your hallways and living spaces.
Understanding Wire Connectors
Wire connectors, often called wire nuts, are your go-to for joining electrical wires together safely. They come in various sizes, usually colour-coded, to match the gauge and number of wires you're connecting. You simply push the stripped ends of the wires into the connector and twist it clockwise until it's snug. The internal threads grip the wires, creating a secure connection. It's important to use the right size connector; too small and it won't fit, too big and it might not grip properly. You'll typically connect the corresponding coloured wires from your new fitting to the wires coming from the ceiling or wall.
Safety Equipment For Your Project
- Safety glasses: Protect your eyes from any dust or stray bits that might fall from the ceiling.
- Work gloves: These can give you a better grip and offer a bit of protection.
- A stable ladder: As mentioned, stability is key. Don't risk a fall.
Remember, electricity is not something to be trifled with. Always, always confirm the power is off at the breaker and test the wires with a voltage tester before you begin. It might seem like a faff, but it's the most important step to avoid a nasty shock. If you're ever unsure, it's always better to call in a qualified electrician.
When you're unpacking your new light fitting, take a moment to check all the components, especially the lamp holder and the ceiling rose bracket, to make sure everything is present and undamaged. This is also a good time to familiarise yourself with the specific instructions that came with your new light, as they can vary slightly between models. Understanding the different parts of a light fixture, like the bulb socket, can also be helpful.
Prioritising Safety Before Installing A Light Fitting
Right, before we even think about touching a wire or unscrewing that old light, we need to talk about safety. Electricity isn't something to mess about with; it's serious business. Getting this wrong can lead to nasty shocks or even fires, and nobody wants that. So, let's make sure we do this properly.
Turning Off The Power At The Breaker
This is the absolute number one rule. You can't just flick the light switch off and assume you're safe. You need to go to your home's main electrical panel – that's usually a big metal box with a whole load of switches inside. Find the breaker that controls the light fitting you're working on. Once you've found it, flip it firmly to the OFF position. This is the only way to be sure the power is completely cut off to that specific circuit.
Confirming Power Is Off With A Tester
Flipping the breaker is a big step, but we need to be absolutely certain. This is where your non-contact voltage tester comes in handy. It's a simple little gadget that can tell you if there's any electricity flowing through a wire without you having to actually touch it. Once you've turned off the breaker, carefully approach the existing light fitting. Use the tester near the wires. If the tester lights up or beeps, there's still power. Go back to the breaker box and try again. You want to see absolutely no indication of power from the tester. This step is non-negotiable for your safety.
When To Call A Professional Electrician
Look, most of the time, changing a light fitting is a manageable DIY job. But there are times when it's best to step back and call in an expert. If you open up the ceiling box and find wiring that looks old, damaged, or just plain weird (not the standard colours), it's time to stop. Also, if your home has older aluminium wiring, that needs special handling. And honestly, if you're just not feeling confident or comfortable working with electricity, there's absolutely no shame in getting a professional to do it. They have the knowledge to handle tricky situations and ensure all wiring is safe and up to code.
Removing Your Old Light Fitting
Right then, time to say goodbye to the old light fitting. This is where things start to get a bit more hands-on. First off, you'll want to get rid of any bits that might get in the way, like glass shades or decorative covers. Just unscrew or unclip them carefully. It’s always a good idea to support the main body of the fitting with one hand while you’re doing this, just in case.
Identifying Wire Colours
Once the decorative bits are off, you'll see the wiring. Most UK homes will have three types of wires coming from the ceiling: a live wire (usually brown, but sometimes red in older installations), a neutral wire (usually blue), and a ground wire (green and yellow striped, or sometimes just bare copper). Taking a quick photo with your phone at this stage is a brilliant idea; it’s a lifesaver if you get confused later on.
| Wire Colour | Function |
|---|---|
| Brown (or Red) | Live (Hot) |
| Blue | Neutral |
| Green/Yellow (or Bare Copper) | Earth (Ground) |
Safely Disconnecting Wires
With the power confirmed off, you can now disconnect the wires. The wires from your old fitting will be connected to the house wires using wire connectors. You'll need to unscrew these counter-clockwise. Once the connectors are off, gently pull the wires apart. The old fitting should now be free. Don't yank it down; support its weight as you disconnect the final wires. Remember, if your wiring looks different from what's described, it's always safer to get a qualified electrician to take a look.
Preparing Your New Light Fitting
▶ Click to watch on YouTube
Getting everything set up before you even pick up a screwdriver makes the whole project go smoother. It's easy to overlook a little part or tool in the excitement—double-checking saves you from a wobbly ladder dash to the shed later.
Unpacking And Checking Components
- Take out each part: fitting, bracket, screws, any extra bits.
- Read through the instructions so you know what should be there.
- Inspect everything for visible damage like dings in metal or cracked plastic.
Attaching The Mounting Bracket
- Remove the old bracket, if there is one.
- Line up the new bracket with the holes on your electrical box.
- Fix it firmly with the supplied screws—tighter is better so your light doesn’t droop.
- If the bracket needs an earth connection, make sure the relevant screw or tab is accessible.
Exposing Wires For Connection
- Carefully strip about 10mm off the end of each house wire.
- Make sure none of the copper strands are damaged—use dedicated wire strippers.
- Twist the ends gently if they’re multi-stranded to keep things neat.
Connecting The New Light Fitting
Right then, this is where things get a bit more hands-on. You've got your old fitting off, and the wires are dangling, ready for their new job. It's time to make the connections for your new light.

Reference: Standard UK/US wiring diagram for light installations.
Connecting The Ground Wire
First up, the safety wire. You'll usually see a green or bare copper wire coming from your new light fitting. This needs to connect to the ground wire in your ceiling. If your new fitting came with a mounting bracket, there might be a green screw on that; if so, wrap the ground wire around that screw. Give it a gentle tug to make sure it's secure. This wire is your lifeline, so don't skip it!
Connecting The Neutral And Hot Wires
Now for the main event. You'll have a white wire (neutral) and a black wire (hot) from your new fitting, and likely the same from your ceiling wiring. (In modern UK wiring, this is Blue for Neutral and Brown for Live). It's pretty straightforward: match the colors. Take the exposed ends, twist them together clockwise, and then screw on a wire nut nice and snug. For fixtures with an LED driver, follow the driver's specific instructions. If you need a compatible dimmer switch, check the manufacturer's guide.
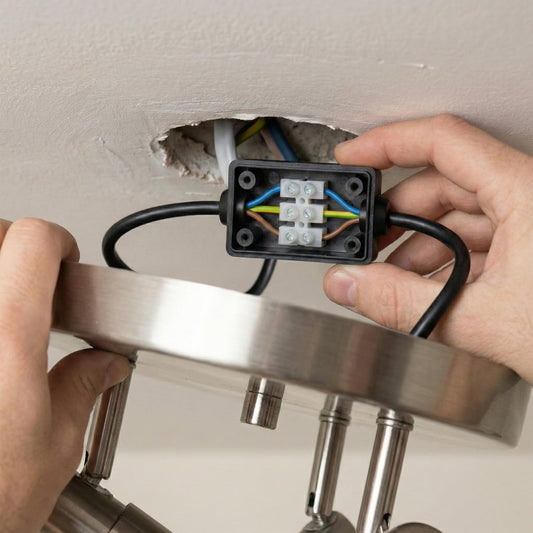
Securing Wire Connections
Once all the wires are connected, it's a good idea to give each connection a gentle pull. This confirms they're firmly attached and won't come loose. After you're happy with the connections, carefully fold the wires back into the junction box.
Final Steps For Your Light Fitting
Right then, you've connected all the wires, and hopefully, everything looks neat and tidy in the ceiling box. Now comes the part where you actually get to see your handiwork shine.
Securing The Light Fitting
With the wires tucked away safely, lift the new fitting and align it with the bracket. Depending on your specific light, this might involve screwing it directly into the bracket or attaching it with a decorative nut. Make sure it's snug and doesn't wobble at all.
Testing Your New Light Fitting
Head over to your consumer unit and switch the power back on at the breaker. Go back to the room and flip the light switch. If all has gone to plan, you should be greeted by a lovely new glow! If it doesn't light up, don't panic. Turn the power off at the breaker again and check your connections. Don't forget to pair your new fitting with high-quality LED Bulbs for the best performance.
Ceiling Touch-Ups For A Clean Finish
Sometimes, when removing the old light, you might have accidentally marked the ceiling paint. A small brush and a bit of matching paint can make a big difference, tidying up any scuffs or marks. This little bit of extra effort really makes the whole installation look professional.
So, You've Got New Lights!
Right then, you've gone and done it. You've tackled the wiring, wrestled with the mounting bracket, and hopefully, your new light fitting is now shining bright. It's a good feeling, isn't it? If you managed it all yourself, give yourself a pat on the back – you've just added a bit of sparkle to your home, and that's a job well done.
Frequently Asked Questions
Can I really fit a new light myself?
Absolutely! For many standard light fittings, if you're comfortable turning off the power and following instructions carefully, you can definitely do it yourself. Just make sure you have the right tools and always double-check the power.
Do I always need an electrician?
Not always, but it's wise to call one if you're move the light's position, fit a very heavy chandelier, or notice old wiring that looks dodgy. Safety first!
Which wire goes where?
Generally: Brown/Black to Live, Blue/White to Neutral, and Green/Copper to Ground. Always check your specific product manual.
How long will it take to change a light fitting?
For a straightforward swap, it takes about 30 to 60 minutes. Don't rush—safety is more important than speed.
What if my new light doesn't work after I install it?
Check for a loose wire connection. Turn the power back off at the breaker before checking the wire nuts or terminal blocks.
What safety gear do I really need?
Safety glasses, a reliable voltage tester, and a sturdy ladder are essential. Gloves are optional but helpful.